
We’ll show how to glue metal together in this article. No welding involved. Just the right adhesive and a little know-how.
How to glue metal together: the most common methods
The most common adhesives for gluing metal together are super glue and epoxy. However, there are many formulations of each of these adhesives with widely varying applications, so you need to choose carefully. This article will discuss the details and help you select an adhesive that is appropriate for your project.
Super glue is a great way to make quick repairs and take care of smaller projects. Its strong bond and quick-drying capability make it easy to use. However, you will need to choose a super glue that bonds to non-porous surfaces. (Some glues only bond to porous materials and plastics.) The label should list metal as a compatible material.
For larger projects, it’s hard to beat the strength and rigidity of epoxy. An epoxy that bonds metal to metal can be used to join two metal surfaces instead of a mechanical weld. It’s much quicker and requires no special equipment.
Epoxy can also be machined, drilled, and sanded once it is cured, making it a very versatile solution.
LePage Epoxy creates permanent bonds and is extremely tough when bonding metal to metal and other materials
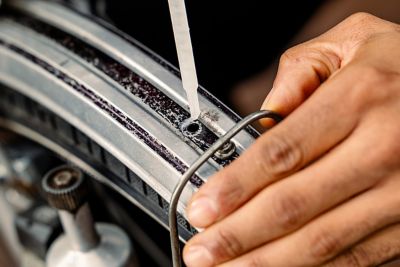
How to glue metal to metal without welding
Here are the step-by-step instructions to glue metal together using epoxy:
- Prepare the surfaces. The surfaces must be dry and free of dirt and grease.
- Pre-fit the pieces before applying the adhesive.
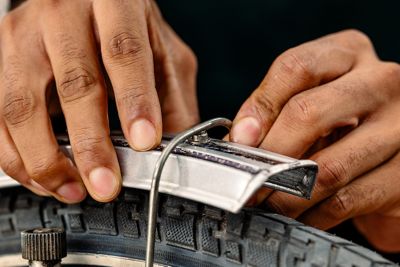
- Dispense resin and hardener in equal portions onto a disposable surface and mix thoroughly using a paint stirrer for about 1 minute.
- Apply epoxy after mixing to both surfaces using a plastic applicator or your stirring stick. (See the product label for exact wait times.)
- Press the parts together and remove any excess glue immediately by wiping with acetone. (You will be able to sand the surface smooth later.) Hold the parts in position until a bond begins to form. Use a clamp or weight to keep the item secure until the epoxy is fully cured (usually 24 hours).
- Sand-hardened epoxy smooth and paint if desired.
If using super glue:
- Prepare and test-fit the parts to be bonded as above.
- Apply a small amount of super glue to one surface.
- Join the pieces and hold them in position until a bond forms, usually within a minute.
- Allow the item to cure for 24 hours before normal use.
Try to clean up excess adhesive while it’s still soft with a damp cloth or paper towel. If you discover cured adhesive later, carefully cut it away with a razor blade, then wipe the area with acetone to remove residue.
The best way to glue metal to metal: our favorite adhesives
Here are our top adhesive recommendations for gluing metal to metal.
Leading the pack is LePage Epoxy Steel. Simply dispense the materials from the dual syringe and mix. In about 10 minutes, a rigid, high-strength bond will form that is perfect for metal-to-metal and metal-to-concrete applications. Repair, resurface, and fill gaps and imperfections. It dries to a metallic gray and can be easily sanded.
With the right adhesive, any repair featuring metal will be quicker in the future
For quick fixes and invisible repairs, try LePage Super Glue Liquid Pro. The patented formula works faster and holds better than most other super glues. It’s suitable for porous and non-porous surfaces and bonds to everything from metals to leather.
Want an indoor/outdoor adhesive that holds up to moisture, temperature extremes, vibration, and impact? Then LePage Super Glue Ultra Gel Control is for you. Its rubber-infused formula holds up to harsh conditions and stays flexible. It forms a strong bond to almost any surface including metals, plastic, wood, and ceramics. It’s super durable and sets quickly without clamping.